
Replacing a hard drive PCB (Printed Circuit Board) can be a delicate process that requires careful attention to detail. The PCB is a crucial component of a hard drive, responsible for controlling the drive’s functions and managing data communication. If the PCB is damaged or faulty, replacing it can be a cost-effective solution to recover data. Here’s a step-by-step guide on how to replace a hard drive PCB:
Note: This guide assumes you have identified an exact match for the replacement PCB, including the same PCB part number. It’s crucial to match the replacement PCB part number precisely to avoid compatibility issues. Additionally, this process involves opening the hard drive, which may void the warranty. If the drive is under warranty, consider contacting the manufacturer for assistance.
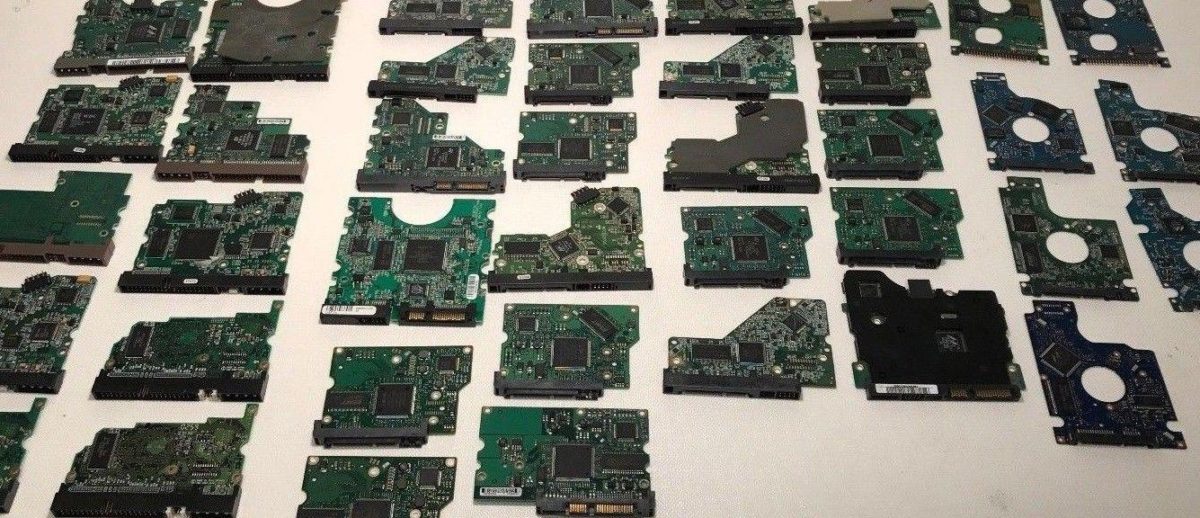
Tools and Materials Needed:
- Replacement PCB
- Screwdriver set
- Anti-static wrist strap
- Clean, dust-free workspace
- External USB hard drive enclosure (for data recovery)
- Soldering iron, soldering wick, and desoldering tools (for firmware chip transfer)
Steps:
- Prepare the Workspace:
- Choose a clean, well-lit, and static-free workspace.
- Use an anti-static wrist strap to ground yourself and prevent static electricity from damaging sensitive components.
- Identify the Hard Drive Model:
- Note down the make and model of your hard drive. This information is usually printed on the label of the drive.
- Find a Matching Replacement PCB:
- Look for an identical replacement PCB for your hard drive. This includes the same PCB part number.
- Remove the Hard Drive:
- Power off the computer and disconnect all cables.
- Open the computer case and disconnect the faulty hard drive.
- Handle the hard drive carefully, avoiding static discharge and physical damage.
- Transfer Firmware Chip:
- Identify the firmware chip on the original PCB and carefully desolder it using a soldering iron and wick.
- Lift the firmware chip and place it on the corresponding location on the replacement PCB.
- Use the soldering iron to securely attach the chip to the replacement PCB.
- Attach the Replacement PCB:
- Carefully connect the replacement PCB to the hard drive.
- Secure the replacement PCB in place with the screws.
- Reassemble the Hard Drive:
- Place the hard drive back into the computer case.
- Reconnect all necessary cables and power on the computer.
- Test the Hard Drive:
- Check if the computer recognizes the hard drive.
- Listen for any unusual noises or vibrations.
- Data Recovery:
- Use an external USB hard drive enclosure to connect the replaced hard drive to another computer.
- Copy important data to a safe location.
- Dispose of the Faulty PCB:
- Safely dispose of the faulty PCB, taking care to adhere to environmental regulations.
Important Tips:
- Precision is Key: Take your time and be precise during each step to avoid damaging the hard drive or other components.
- Professional Assistance: If you’re uncomfortable or unsure about the process, consider seeking professional assistance from data recovery services.
- Data Backups: Regularly back up your data to prevent data loss in case of hardware failure.
Always exercise caution when working with sensitive electronic components, and remember that data recovery success is not guaranteed, especially in cases of severe physical damage to the hard drive. If the data on the drive is critical, consider consulting with professional data recovery services for assistance.